Keep one quiet zone
Place detailed subjects away from the task column, sidebar and composer.
Codex skin themes
Explore real compositions, then build an installable skin from an image you own.

These five Codex skin examples show how subject placement, brightness and texture affect a real coding workspace. The suggested settings are starting points: always verify text, controls and diffs against your own image.

Best for: Bold home screen
Composition: Keep the brightest subject outside the central task column.
Studio starting point: Start near 38% veil and 1–2px blur.
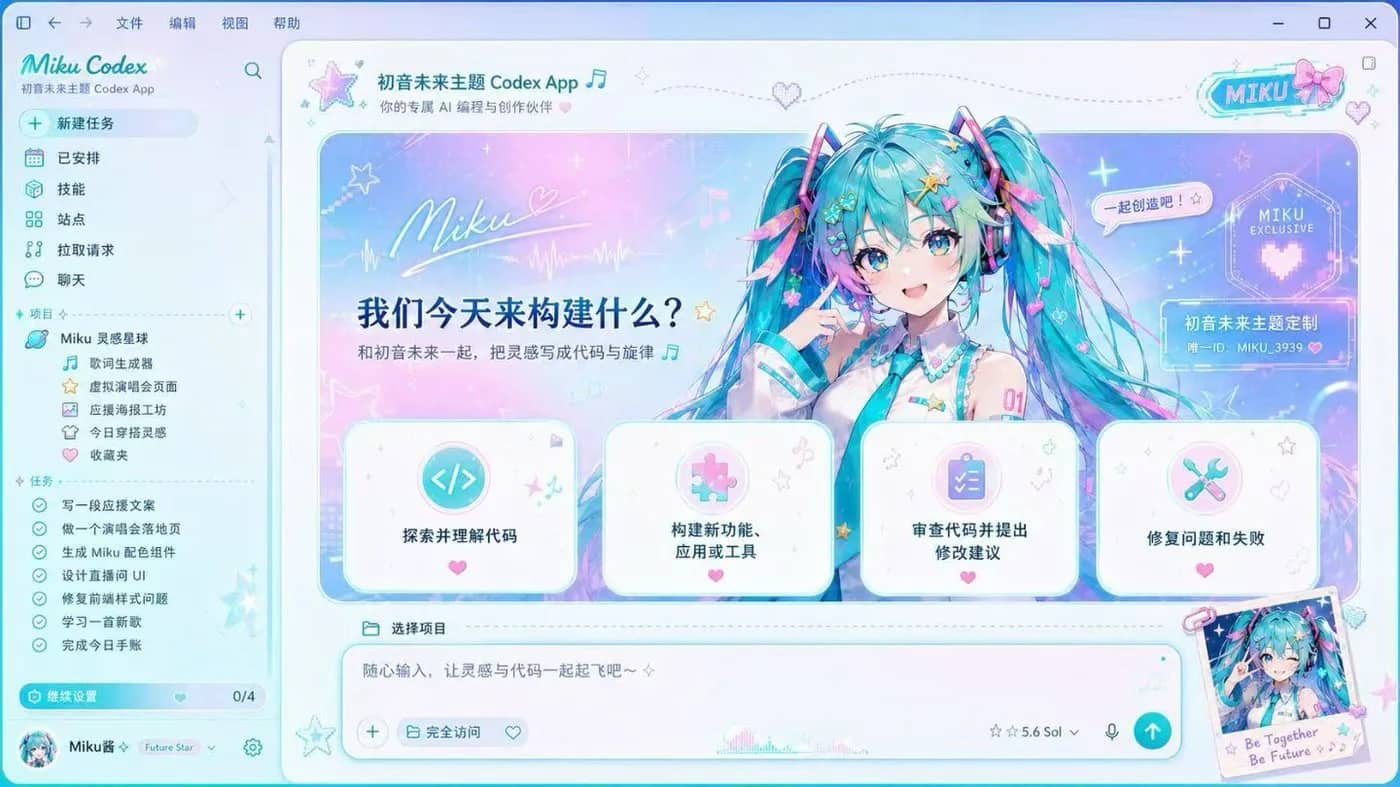
Best for: Creative sessions
Composition: Use a left or right quiet area so saturated shapes do not sit behind controls.
Studio starting point: Start near 42% veil and 2px blur.
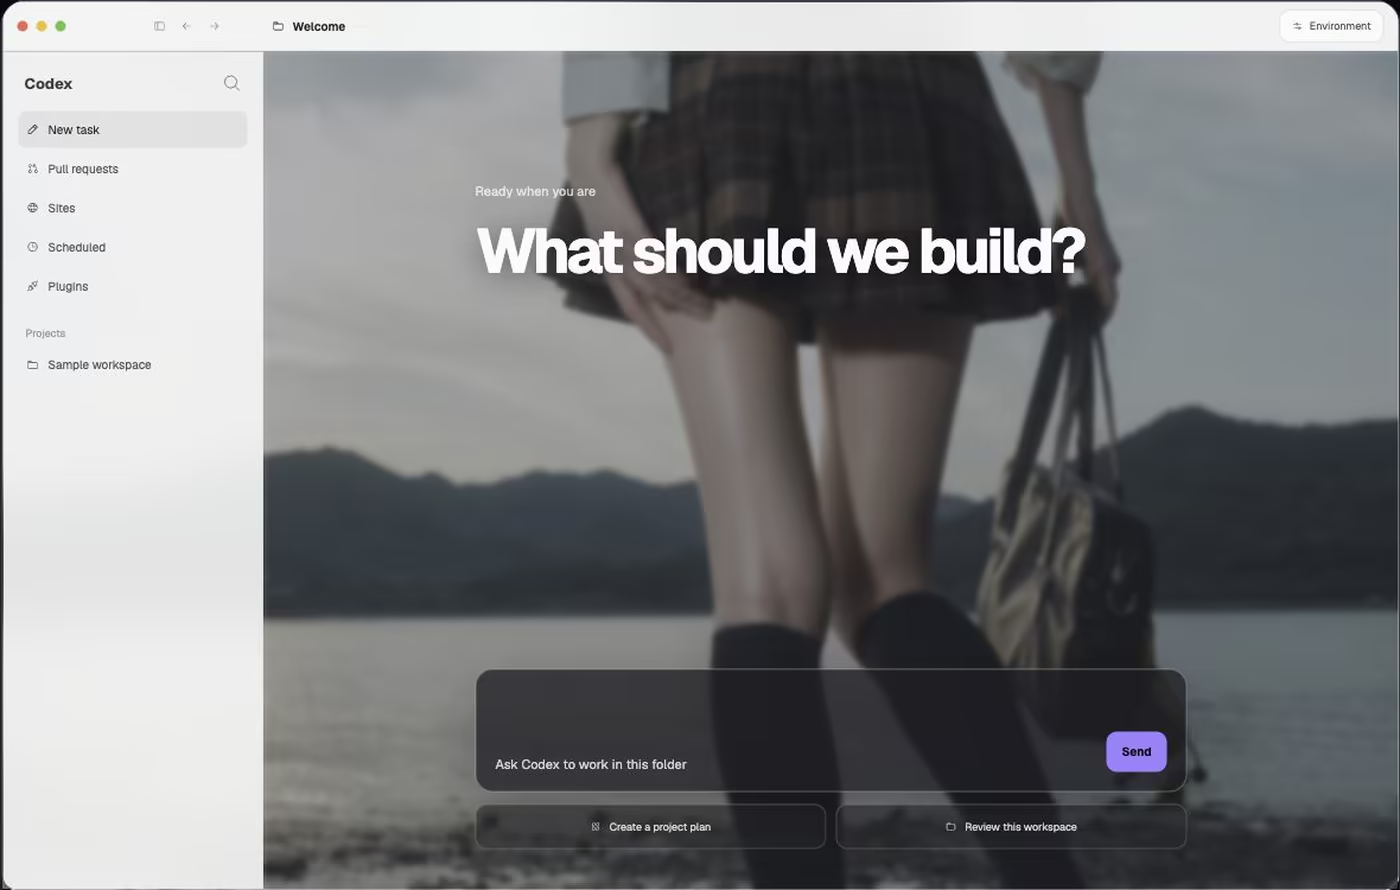
Best for: Long coding tasks
Composition: Let the horizon frame the workspace instead of crossing text-heavy panels.
Studio starting point: Start near 30% veil and 0–1px blur.

Best for: Character artwork
Composition: Move the face away from the sidebar, composer and primary buttons.
Studio starting point: Start near 40% veil and 1–3px blur.

Best for: Colorful illustration
Composition: Protect a broad quiet zone around task text and the diff viewer.
Studio starting point: Start near 44% veil and 2–4px blur.
The gallery is visual guidance, not a promise that the pictured artwork is licensed for redistribution. CodexSkin creates a private package from an image you own or are allowed to use; it does not publish your image or generated ZIP.
Place detailed subjects away from the task column, sidebar and composer.
Lower brightness first. Add blur only when texture still competes with text.
Preview Home, Task and Diff because a theme must work beyond the welcome screen.
Every generated package includes a direct path back to the original Codex appearance.
From image to installer
A useful skin has to work after the welcome screen. This workflow protects the areas you read and click most.
Use native Codex appearance settings for colors and fonts. Use the open-source Dream Skin engine when you want a background image and translucent surfaces.
Choose the right path
| Need | Native Codex appearance | Codex Dream Skin package |
|---|---|---|
| Colors and typography | Best fit | Supported as part of a visual skin |
| Custom background image | Not the intended path | Best fit |
| Additional local code | No | Yes, open-source engine and installer |
| Platform package | Not required | Separate macOS or Windows ZIP |
| Return to normal | Reset appearance settings | Use the included Restore launcher |
If colors and fonts are enough, prefer the native path. Choose Dream Skin only when the background image and translucent visual layers are worth running an additional local engine.
Codex theme FAQ
Compatibility, image requirements, downloads and removal in one place.
These images demonstrate composition and readability; they are not a downloadable theme marketplace. Use artwork you own or have permission to use, then create a private installable package in CodexSkin Studio.
Choose a PNG, JPEG or WebP in Studio, set the focal point, readability veil and blur, preview Home, Task and Diff, then generate the macOS or Windows ZIP locally in your browser.
Yes. CodexSkin generates separate packages for macOS and Windows. Windows requires Node.js 22 or newer; the macOS installer validates the runtime bundled with the signed Codex app.
A sharp 16:9 image works best because Studio prepares a 2560 × 1440 background. PNG, JPEG and WebP files up to 50 MB are accepted.
Keep detailed subjects away from the sidebar, task column and composer. Increase the veil before blur, then check the theme in Home, Task and Diff views.
Use the Restore launcher included in the generated package. It stops the themed session and opens Codex with its normal appearance.
Preview your own image and create the complete package locally.